Sponsored Listings:
So you’ve made the leap! You planned in advance and signed up for a Working Holiday in Canada before leaving to start your journey. The Working Holiday Visa allows you to work for anywhere from 6 months to 2 years (with conditions), depending on which country you call home. Starting to get your new life in order in a brand new country can be daunting, even one as friendly as Canada. While the hardest part will involve deciding which province you’re going to set yourself up in, there are still other steps you’ll need to remember before you dive into your first job in Canada.
Apply for a Working Holiday Visa
Once your documents are complete be sure to create duplicates and keep them in your luggage in case you have any issues at Customs.
Find a hostel
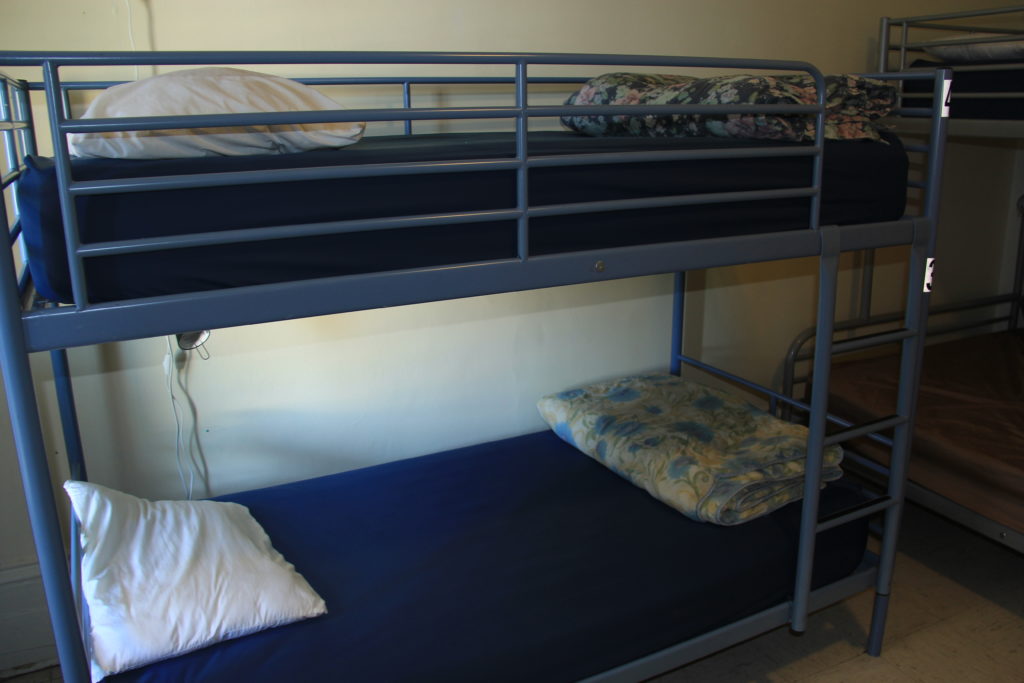
If you haven’t already booked a hostel in Canada for the first week of your stay, you’ll want to do that. I suggest finding a hostel in one of the bigger city centers, preferably one with decent public transit. Look at Vancouver, Calgary, Toronto, or Montreal. If you’re willing to spend a bit more on cab fare, other cities include Edmonton, Saskatoon, Regina, Winnipeg, and Halifax. I recommend a hostel because you typically have a much more close relationship with the staff, allowing you to ask questions such as which neighbourhoods to avoid renting in, or simply to ask what the job market is like in town.
Hostels tend to have much more communication, and you may be lucky enough to befriend someone who’s worked in that city for long enough to show you around. Take help where you can get it, and don’t be afraid to ask questions.

Find long term accommodations
If you’ve got a good sense that you’ll be able to find work in the city you’re currently hosteling in, start watching for long term rentals. You may opt to hold off on this step until you secure work, it depends on what you feel most comfortable with. Canada’s landlord laws all vary from province to province, but most allow landlords to rent month to month, or on 1 year leases. Just note that if you’re on month-to-month there’s a chance your landlord may increase rent as the market dictates, without a lease there’s rarely a guaranteed price, but usually they’ll give you at least 1 months notice if rent is going up. It all varies between property management company, to independent landlords.
If you’re not 100% sure you’re going to be in one place for a full year, consider talking to the landlord or property management company and explain your predicament. Ask if it’s possible to be put on a month to month rental at a slightly higher fee than what they’re asking, or see if they’d be willing to do a 3 or 6 month lease. Or avoid having to ask and simply limit your search to month to month rentals only. They’re much harder to come by but do exist.
Check out the following websites for finding rentals:
If you think you’d rather have a roommate, don’t be afraid to put a message up on the hostel corkboard. If you’re able to rent a place with other fellow vagabonds, you’re likely to have cheaper rent, and have someone to live with that isn’t a complete weirdo.

Get Social Insurance (SIN) Number
Once you’re 100% sure you want to live and work from a specific city for a while, you’ll want to make sure you apply for your Social Insurance Number (SIN). This 9 digit number is basically your human bar code. It’s what the Canada Revenue Agency (CRA – ie. the Canadian IRS) uses to tie your income earnings to you.
In order to receive your SIN (as well as open a bank account), you’ll need the following:
- Passport
- Work Permit, issued at the airport. This is usually a sticker in your passport.
- Secondary government ID from your home country, such as Birth Certificate, Divers Licence, Health Card, etc.
Find the nearest Service Canada office and bring all documentation. There may be a small processing fee so bring cash or credit just in case. As a Canadian I’ve never had to go further than this, so you’re on your own here! Though I do know that they’re open for walk-in’s. No appointments needed!

Open a Bank Account
While government meetings can be long, nothing stacks up to the slow and arduous diligence of banks. But remind yourself that they’re keeping your money safe, so grin and bear it as you’ll need a bank account to receive Canadian funds from your potential future employers. Make sure you bring your passport, work permit, and some secondary form of government ID from your home country. If you’ve received your SIN number, make sure you bring that along as well. Depending on the bank they may ask for it immediately. So better to have it than waste your time.
Most banks in Canada won’t accept walk-ins, though it can’t hurt to phone and ask. I’d recommend calling and booking a meeting for a new account the following day. Popular banks in Canada include:
- TD Canada Trust (I personally bank with these guys) –
- RBC
- Scotiabank (I bank with these guys as well, but prefer TD)
- BMO
- CIBC
- HSBC
TD has a support forum answer which covers opening a bank account as a foreigner. Besides the downtown core of cities, you’ll often find banks can be spread out and found in major shopping centres. While most cities have a decent bus route or public transit, you may end up finding it easier to just pay the cab fare. Alternatively if there’s somewhere out of town you’d like to explore, you might want to hire a car for your Canada holiday and simply include this errand as your first stop with your rental car. After you have the errand out of the way you can squeeze in some exploring. If you plan on renting a car in Canada just remember to bring an international drivers license. You can rent cars without, but it makes the process a bit easier if you have a foreign driver license card.

Purchase a new Sim Card
Before your leave your home country, ensure that your phone is unlocked. You may have to visit your phone company for them to check or complete the unlocking. Some places will charge to unlock the phone. Once unlocked though you’re able to place a SIM card from different phone providers, saving you the added cost of having to purchase a new phone. Some phone companies though refuse to unlock phones, so consider purchasing a cheap unlocked phone before leaving. You can find super basic unlocked smartphones for around $100.
Keep in mind you can always purchase used phones from within Canada on websites like Kijiji. But those phones may be locked to their providers as well.
Popular phone providers include Bell, Rogers, and Telus. Personally I use Virgin Canada, as they piggyback off of all Bell towers, and have some added bonus’s. Phone bills can run you anywhere from $49 – $90+ per month. Unfortunately phone bills are a big expense in Canada. I’ve heard of several backpackers using pay-as-you-go until they get to Saskatchewan, or even trying to sign up for a Saskatchewan number over the phone. In Saskatchewan there’s more competition and lower rates for monthly fees. Bang for buck, the people in Saskatchewan get some of the best rates because of their Crown Corp Telecom Provider (Sasktel) forcing other providers (Bell, Rogers, Telus, Virgin) to compete. As long as you have “Canada Wide” unlimited calling, plus whatever international plan you might need for calling friends and family back home, you should be ready to roll.
Get a Provincial ID
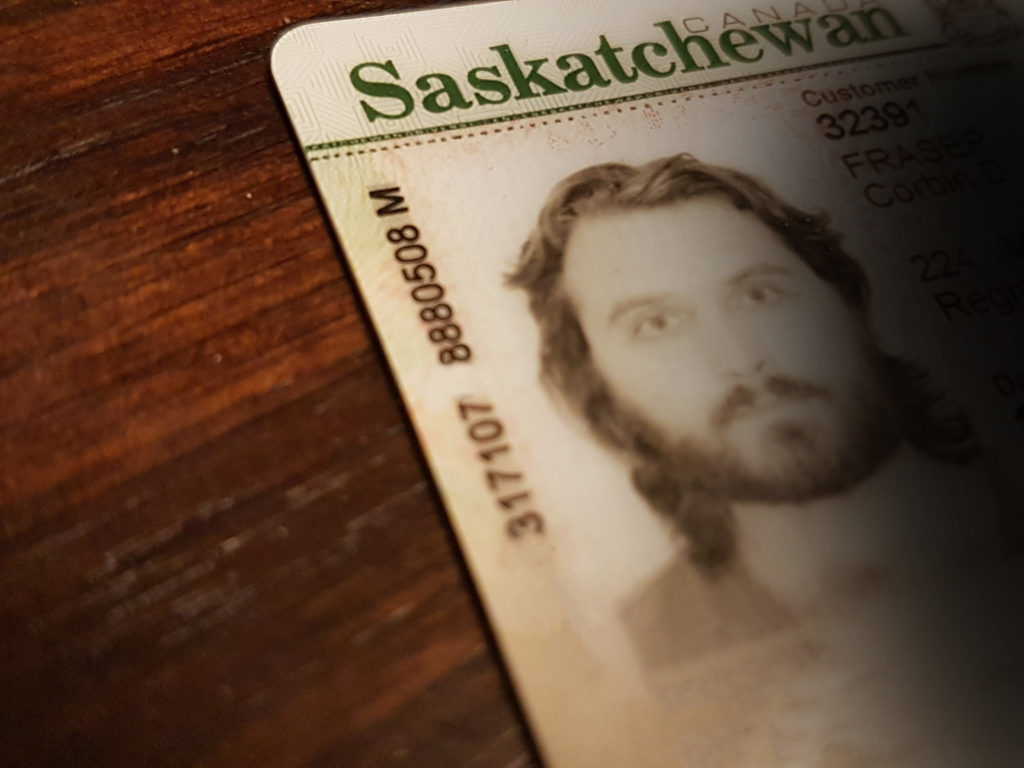
Once you’ve secured a somewhat semi-permanent place to live with your own mailing address, make sure you take the time to apply for a provincial ID. You’ll need your passport, work permit, secondary government ID, and SIN number. While a provincial ID isn’t required, it makes getting into bars easier. Same goes for picking up beer from the liquor store. Remember, most Canadian’s won’t know how to read your passport, but if you show them a local ID they’re familiar with it becomes less of a process. Plus it can be a bit of a souvenir to take home with you. It’s also handy for those rare situations where places ask specifically for Canadian ID. Expect to pay $25-50 for the card though.

Find a Job
If you haven’t found a job quite yet, don’t fret. There are a ton of jobs for backpackers that always seem to be in need. If you already have some career experience you may also be able to completely bypass the more entry level gigs and move towards something more closely related to your career plan. If you’re a hard worker, and have great people skills,there’s no reason why you wouldn’t be able to convince a hiring manager to take a chance on you for a year to let you show you what you’re made of. I’ve heard of countless people who started on working holidays, then ended up getting sponsored to live and work in Canada permanently. It’s absolutely do-able if you have the will.
Make sure you check out the following links for jobs and job info:
While getting settled into a new country for an extended period of time can be difficult, by following the above list things hopefully can become a bit more easy on you. With a little careful planning you’ll be setup in no time. Expect to spend at least a few days running errands to be completely set up. Fortunately once those errands are out of the way you can do your best to settle into your new temporary life in Canada. If you’re like me, and have a tough time deciding exactly where you want to plan roots for a while, consider saving some money and exploring different parts of Canada before you settle on one place. When you find that city that matches your lifestyle, you’ll know. Check the job market, rental prices, and make calculated decisions that work for you.
Have you ever lived in Canada with a working holiday visa? Share your stories below, I’d love to hear from you!
Watch now!
Source: ibackpackcanada.com


