Sponsored Listings:
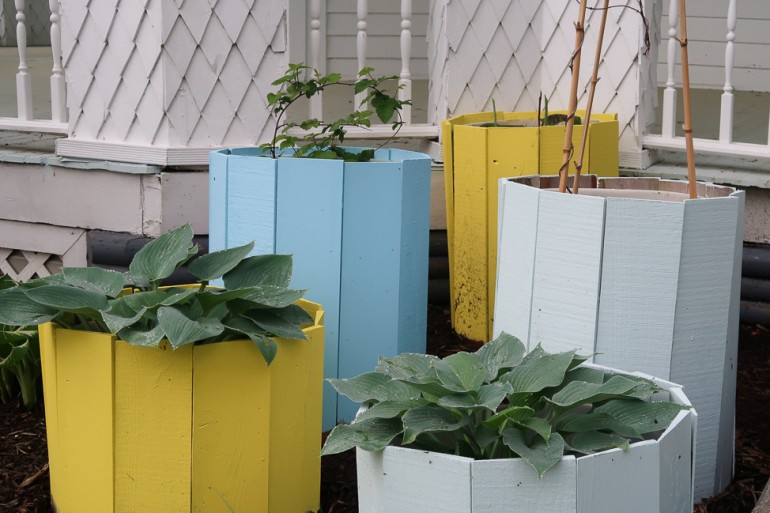
The idea began with seeing someone else’s project pinned up on my Pinterest feed. As usual, I found things that I liked, things that I didn’t and ways to modify the idea into something entirely my own but adapted to the circumstances. In our case, I needed to make an earth bucket, I needed it to look cool and I needed it to be functional and mobile.
The project that I had seen involved a 55-gallon food-grade container slit in half and framed up with fancy edges and a proper shelf on top. While I can appreciate the craftsmanship of doing all that, I need about 30 of these and I’m somewhat of a lazy crafter. Also, we have about 500 board feet of cypress siding left over from sheathing our Victorian and I’m all about using that shit up.
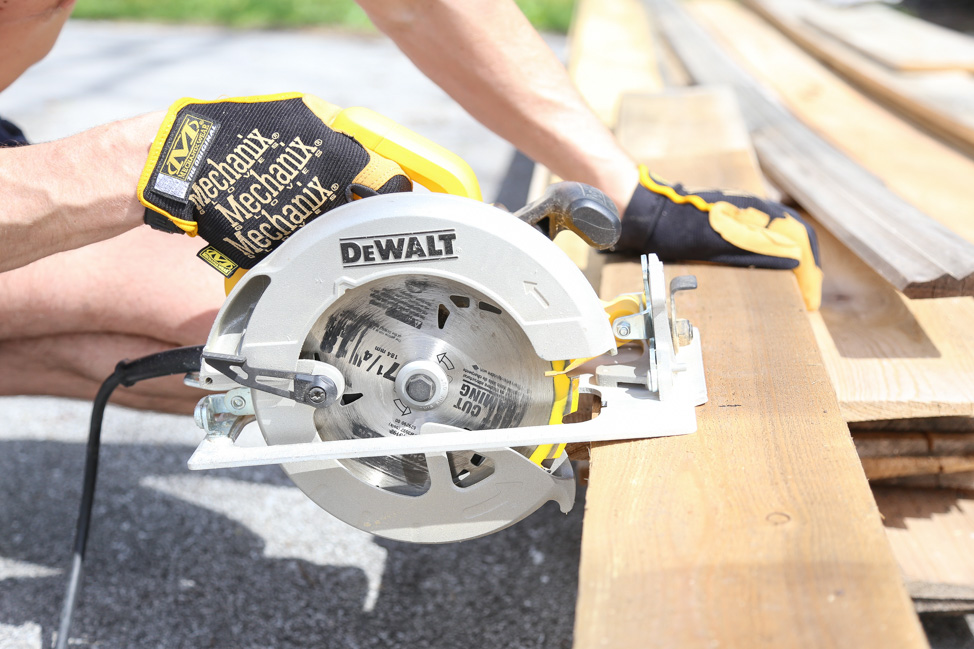
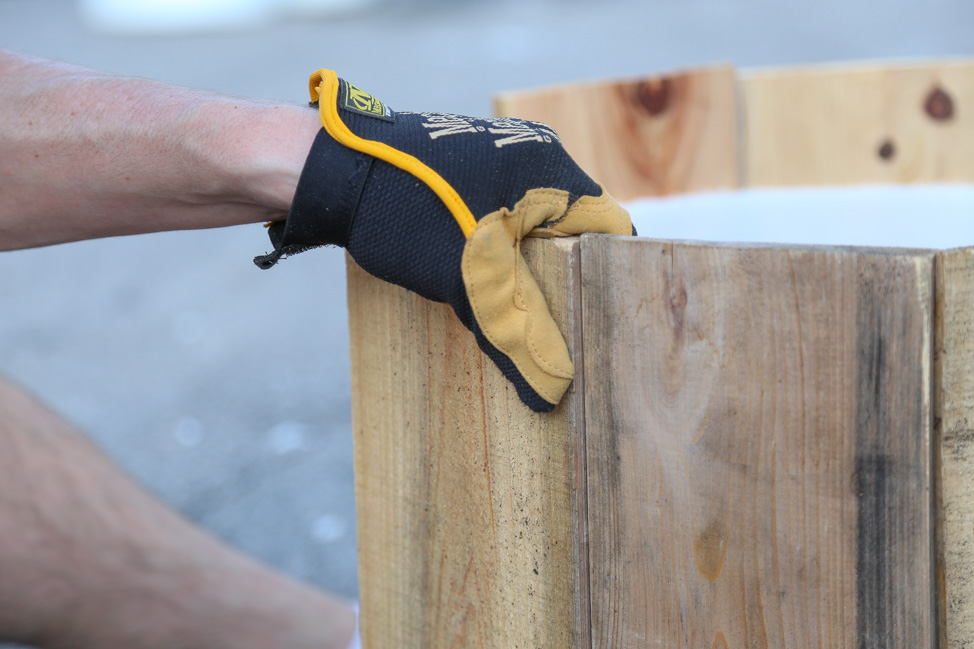
It’s a weird board for this project, no doubt about it. The wood plank is designed to have what’s called a “reveal,” and therefore is tapered to a sharp edge, making it possible to layer the pieces horizontally and keep water just running down the stairs, if you will, when it’s installed on a wall. I needed them to not only go vertically against their will, but also around a tight circle for the planter bucket.
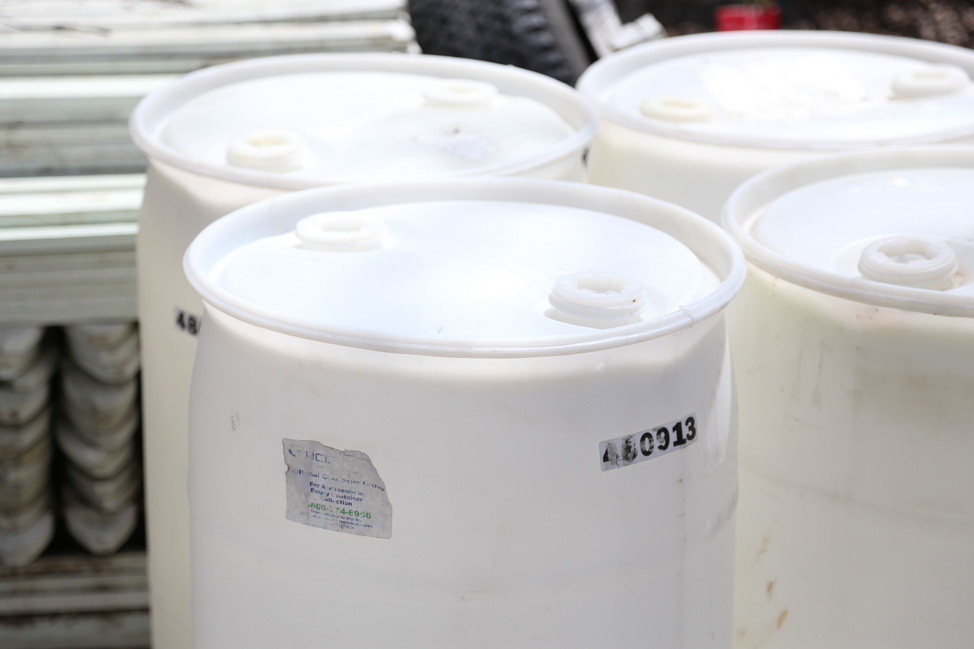
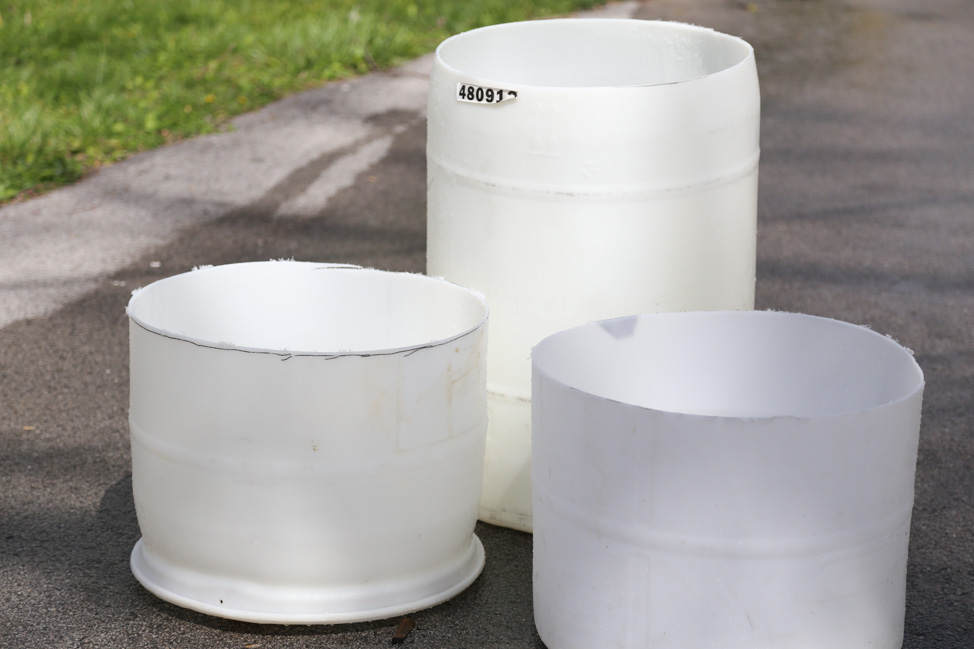
But that’s after figuring out what to do about the actual container that will house dirt for plants. I knew that the 55-gallon size was far too large for what I wanted so I started doing a search on Craigslist for 30-gallon barrels. There were a few places that didn’t pan out because the barrels were used to store some sort of hydrocarbon or toxic material but I eventually found a guy way out in the country that was running a car wash business and selling his used containers for $10 each. Being as it was a soap, I figured that we could wash them out thoroughly, which worked perfect once I’d sliced them into two pieces. I used dish soap to clean them out. Is that weird?
There are a number of ways to tackle the problem of chopping this tall barrel up: grinder with a slim cutting bit, reciprocating saw with a wood blade or a circular saw, which is what we used. The plastic that makes up these containers is soft and a bit like hard wax so super easy to cut with the right tool.
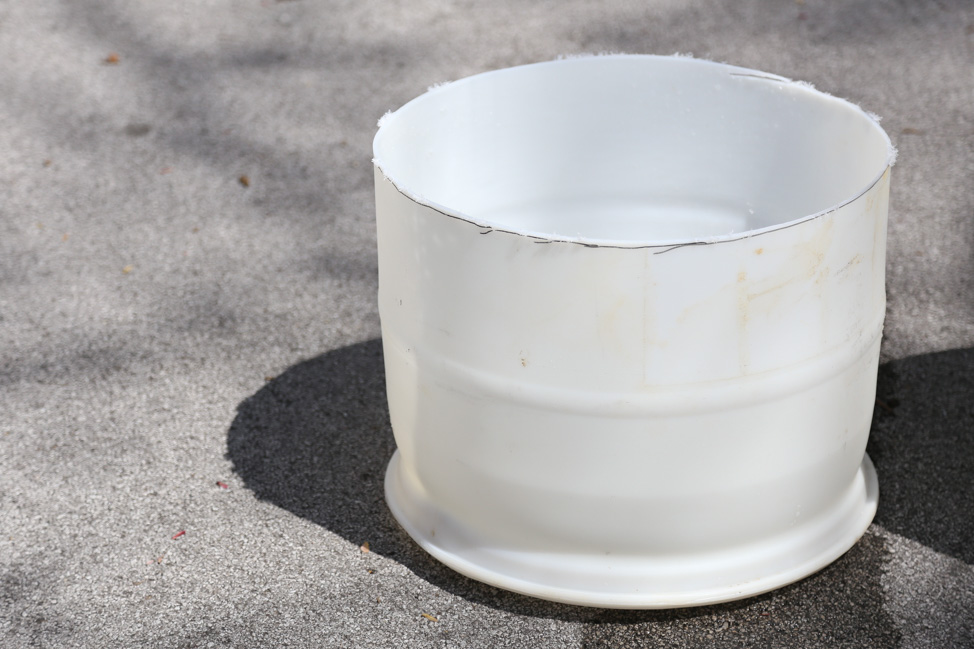
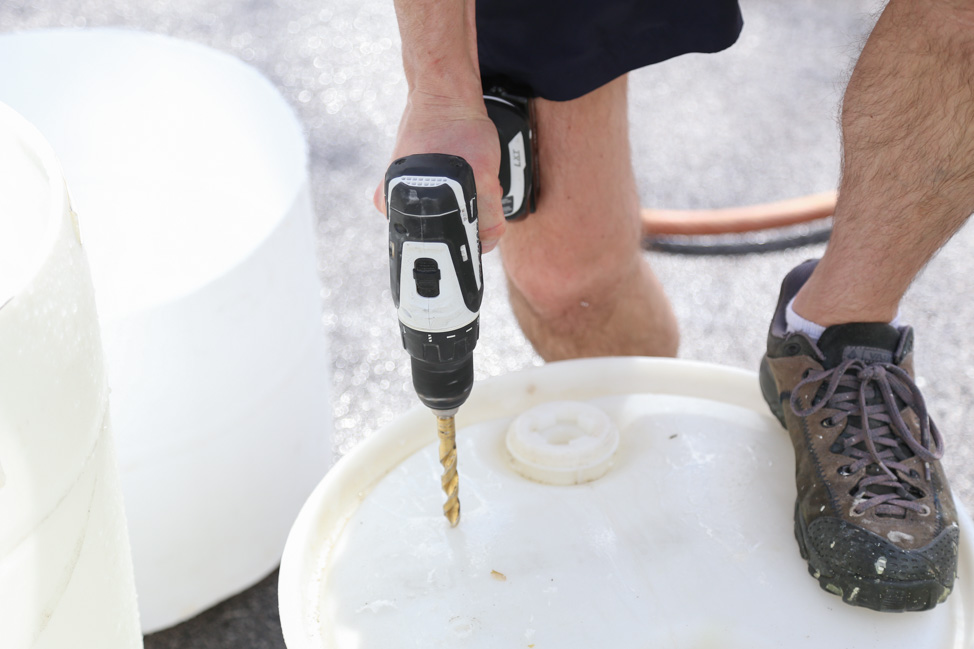
Mark your lines and have your helper move the barrel along as you go and keep a solid grip on the saw and you’ll be fine! Also, drill drainage holes with a fat drill bit all across the bottom of each piece. I’ve never met a plant that could survive being in a container without drains.
We cut a few of these into 50/50 pieces but also did a couple with about 65/35 ratio, meaning the size of the two created buckets would be variable and give us an opportunity to mix and match layers of size. The next time we get more from the car wash dealer, I’ll be making an even taller version, with about a 90/10 ratio and throwing away the second half. I love me a tall, stacked planter, don’t you?
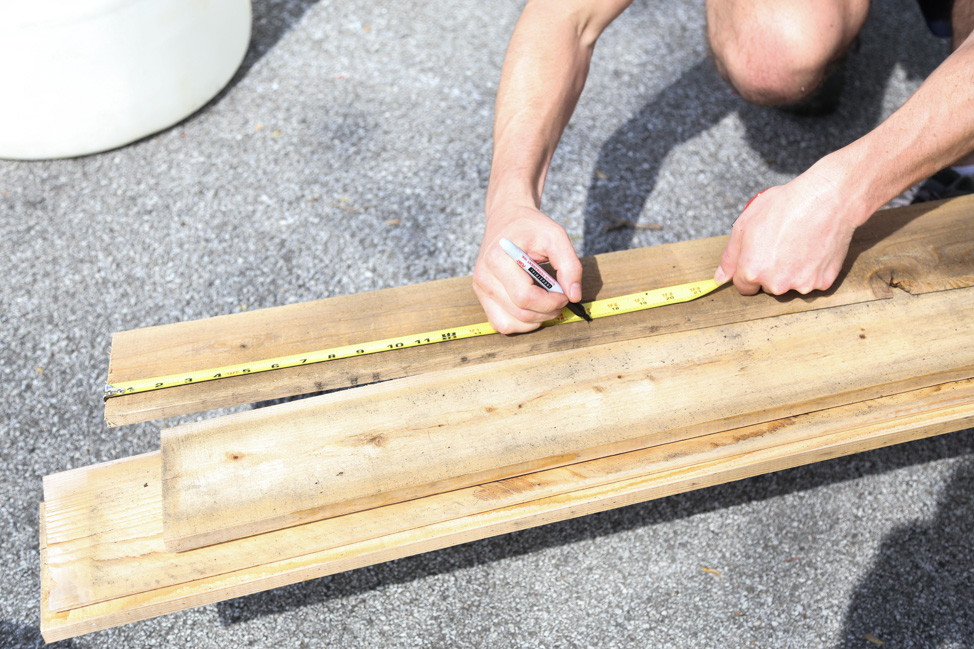
Alright, so you’ve got a pile of boards left over from another project, fence, an old shed that needs to be torn down, whatever. Any long board will work for this. Get the cheap stuff or reuse. I marked off a sample board that extended about three inches above the lip of the cut barrel piece and then chopped up a couple dozen in the same size.
Then I pulled out one of my favorite tools, the nail gun. This particular one is a staple nailer but the principal is the same for all of them. Consult the resident DIY expert in your household on whether this compressor/nailer kit is a good fit in the toolbox but seriously, once you start playing with these you’ll find projects to use it on. Pictures frames, shelving, upholstering etc all appear within easy reach with a nail gun.
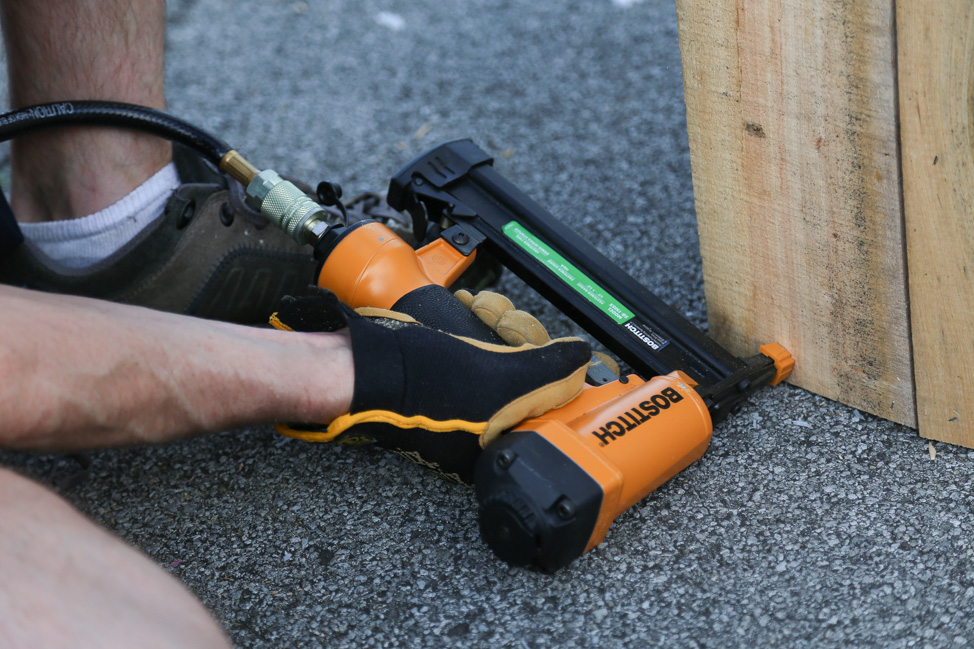
I used, again, what was already in my toolkit and which included staple nails 2-inch-long that I had bought for another project. It’s not the most obvious choice for this project because it will create a homemade iron maiden but if you remember that, and don’t go digging around in the dirt once you’ve filled the earth bucket and slash your little fingers, you’ll be happier with how solid the sides are with a long nail.
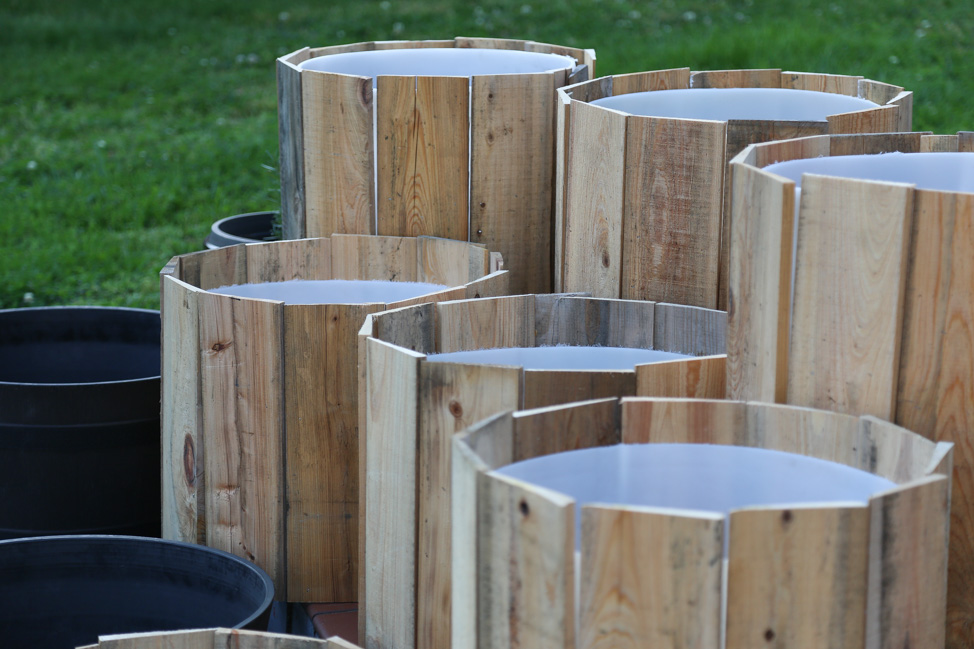
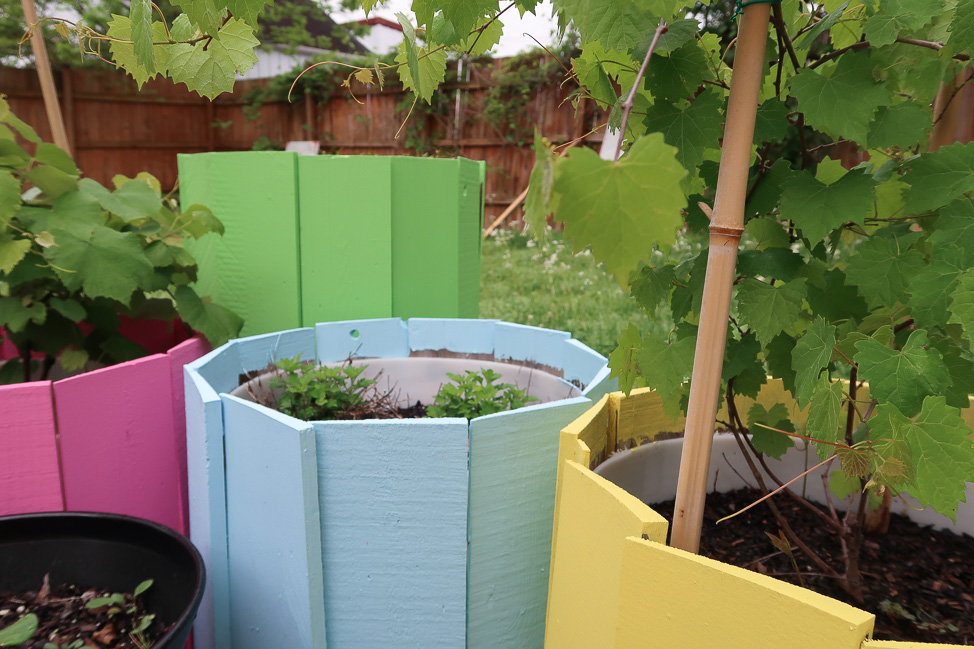
And that’s basically it! Walk and work your way around the barrel, keeping your vertical lines straight with a level or your calibrated eyeball. Buy a quart of cheap paint for two coats per two planters. Fill it with a bit of rock in the bottom, and top up with your favorite soil and plants.
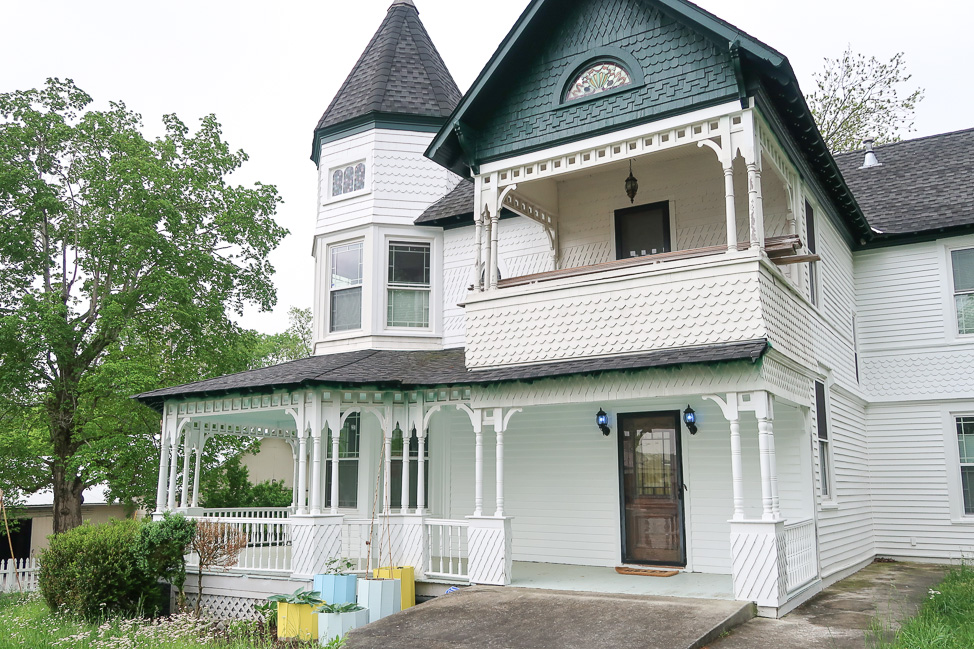
I’d originally thought we would leave these natural colored because it’s cypress and would age into a beautiful gray color, but Kristin wanted to spice up the color pops surrounding our stark white house. This gave me an opportunity to use some of the color samples we picked up in a Caribbean paint store, which is fun. I’m still exploring the pinks and purples in my arsenal.
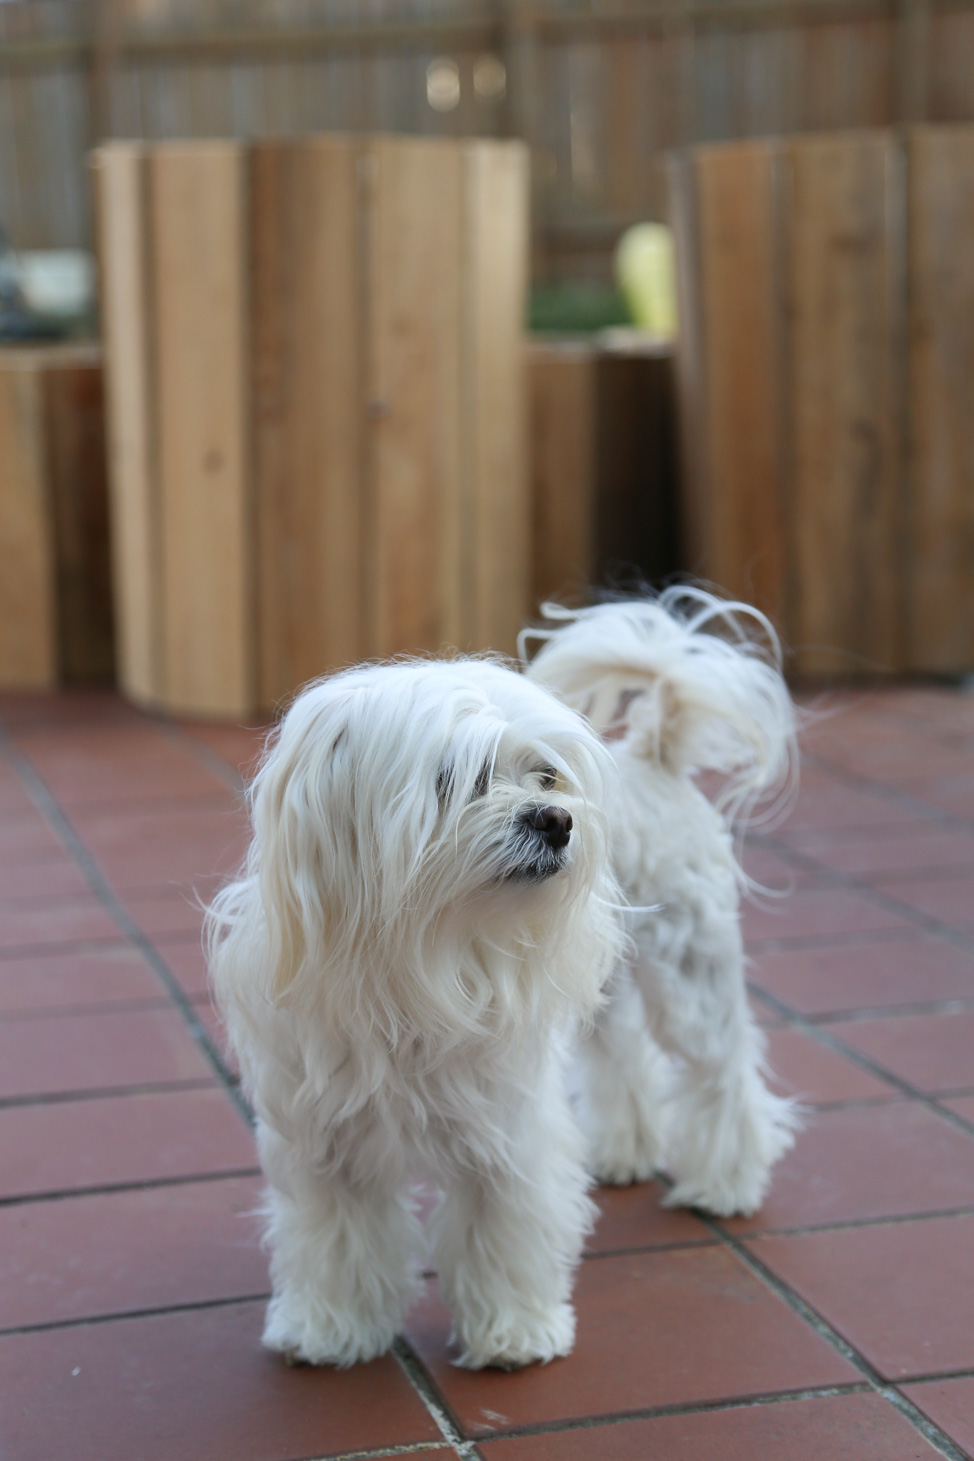
Ella gave us her stamp of approval, and really that’s all that matters anyway, isn’t it?
What It Costs
Our total cost for building these was a truly cost effective way to create a lot of earth buckets for plants on our patio. With the barrels running $10 each, and having scrap wood and nails laying around plus four quarts of brightly colored paint at $8 each, we created 10 of them for a grand total of $92. If you’ve priced large containers at the big box stores they run from $50 to $200, each.
Tools You’ll Need:
Source: camelsandchocolate.com

